
Due to consistent, ongoing demand and current production volumes, the Renovation Quickship program lead times are being extended. If you plan to order products from this program, we appreciate your patience as we work to reduce lead times and build production capacity.
Ludowici’s history as the leader in architectural terra cotta products in the United States since 1888 makes us a trusted partner in home renovation and historic renovation projects. Our unique Renovation QuickShip program allows you to order small quantities of frequently used historic tiles in common historic clay roof tile colors for repairing your roof. With no minimum quantities, this program eliminates the need for a contractor or homeowner to struggle with mismatched ‘salvaged’ parts of questionable quality. For Renovation QuickShip items and orders, our customer service team will work with our production team to expedite the pieces with lead times better than large project/order lead times. Orders over 100 pieces will need to work through a Ludowici Sales Representative. Available products and colors listed below. Please contact us directly for assistance with ordering replacement tiles for your project.
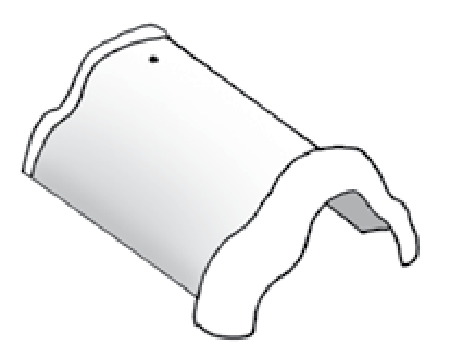
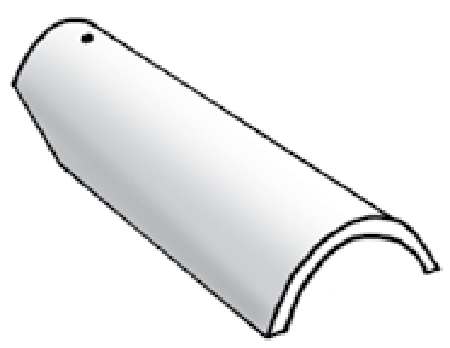

The quick, efficient and concealed method to replace a broken or damaged tile.
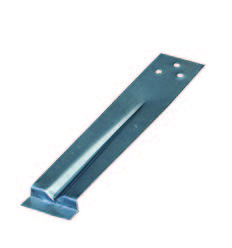
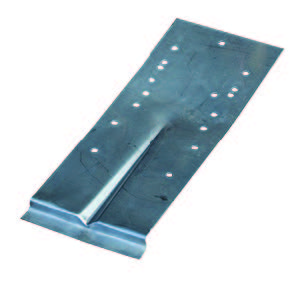
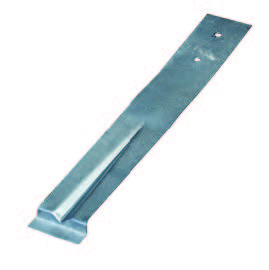
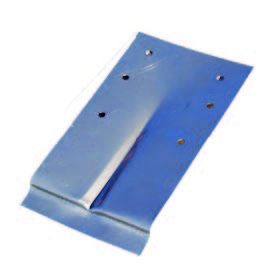
Remove broken pieces of tile and using a slate ripper remove existing nail or screw fastener.
Align a Quik-Tach™ bracket on the back of the replacement tile so the bottom step edge is at the correct head lap. Wire bracket to the replacement tile with copper wire.
Lift the tile in the course above and slide the replacement tile into place so the bracket engages the top of the tile below the replacement.